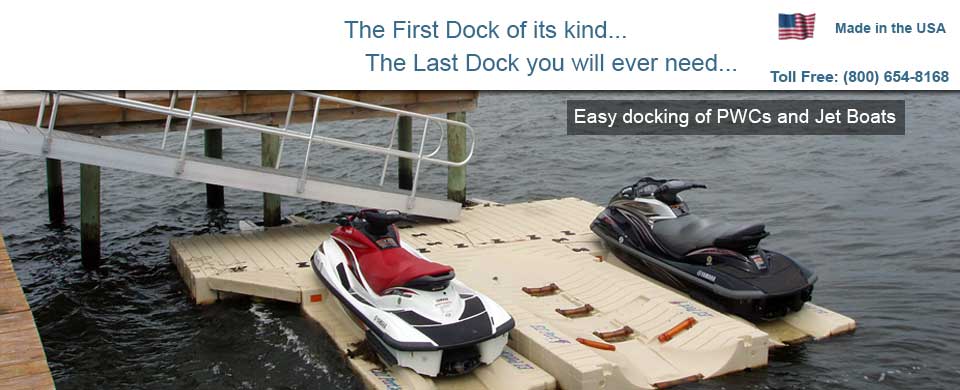
Install an EZ Port using the Hinge Kit
A hinge kit comes with two connection points – each hinge has a hinge plate and a J Bracket. The J Bracket attaches to the EZ Port by inserting the J Bracket in the top pocket with the hardware connector in the bottom pocket. This secures the part of the hinge that is mounted on the EZ Port.
The other half of the hinge is a flat bracket that has holes for lag bolts. The two pieces (J Bracket and Hinge Plate) are joined using a hinge pin which slides through the two pieces and is secured with a cotter pin.
Once installed It is easy to remove the Port from the floating dock – you simply pull the cotter pin out and slide the pin out – and your EZ Port is disconnected.
The “key” to a successful installation is marking the location for the lag bolts.
- mount the J Bracket and secure it to the EZ Port
- slide the hinge pin through the J Bracket and the hinge plate and secure it with a cotter pin
- while standing/kneeling on the EZ Port hold the hinge plate against the existing floating dock and mark where the lag bolts will be located.
KEY – you must have your weight on the EZ Port and no one on the dock you are attaching to when you mark the position for the lag bolts. This negative load will then insure that when your PWC is on the EZ Port the back end will rise and keep the jet drive completely out of the water. The negative load on the installation when marking the spot for the lag bolts is critical.
Note: Depending on the free board of your existing floating dock the hinge plate can be mounted in the up (raised position above the J bracket) or at the same height as the J Bracket.
One hinge kit is adequate for securing up to three EZ Ports depending on the degree of rough water at the site.
